Creating a User
Creating a User
-
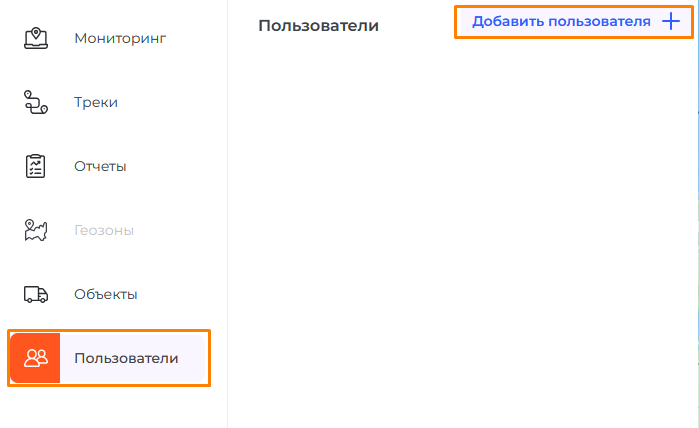
Go to the Users tab in the function menu and click the Add User button.
2. In the new window, you will need to enter the following information for the user:
- Login
- Full Name
- Password
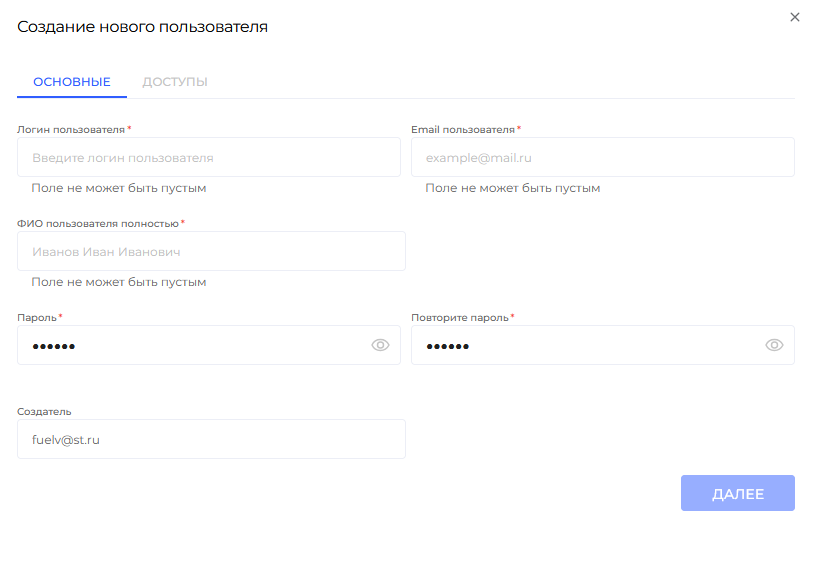
After filling in all the fields, click the Next button.
3. At this stage of user creation, you can grant access to the system monitoring functionality. For each employee in your company, you can define the functional access of their account individually.
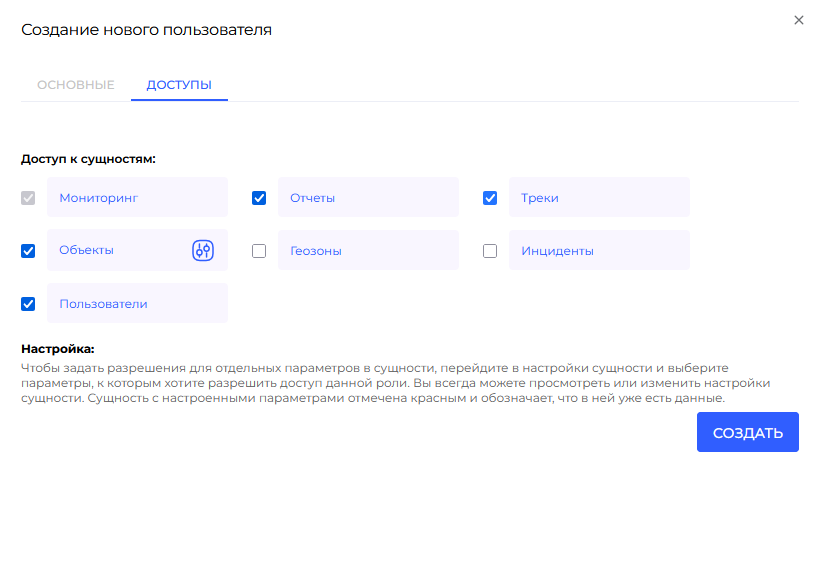
4. Adding Objects to the Account. Click the button in the Objects cell.
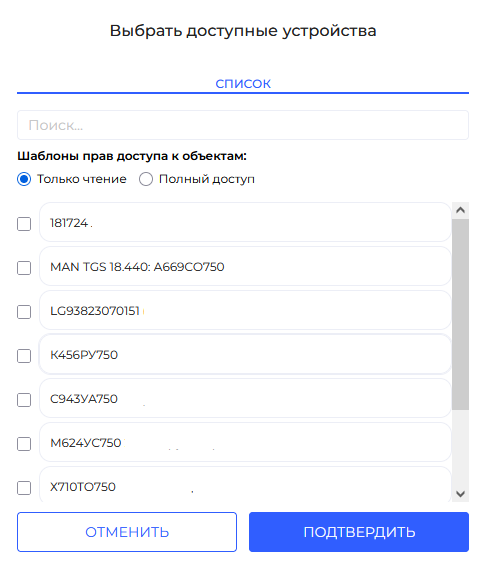
In the search bar, you can select a specific object to grant access to, as well as define the user’s access level:
-
Read-only Mode — the user will be able to view the object’s information but won’t be able to change its name or settings.
-
Full Access — the user will have full control over the object, including the ability to modify its parameters and configuration.
After selecting the objects you want to grant access to, click Confirm, and then click Create.
Your user has been successfully created.